How to install and configure chrony
The test environment
docker run -d --privileged --name ubunut anti1346/ubuntu2204:systemddocker exec -it ubunut bash
To install and configure chrony, a time synchronization tool, you can follow these steps:
1. Install chrony: Use the package manager of your Linux distribution to install chrony. For example, on Ubuntu or Debian, run the following command:
sudo apt-get updatesudo apt-get install -y chrony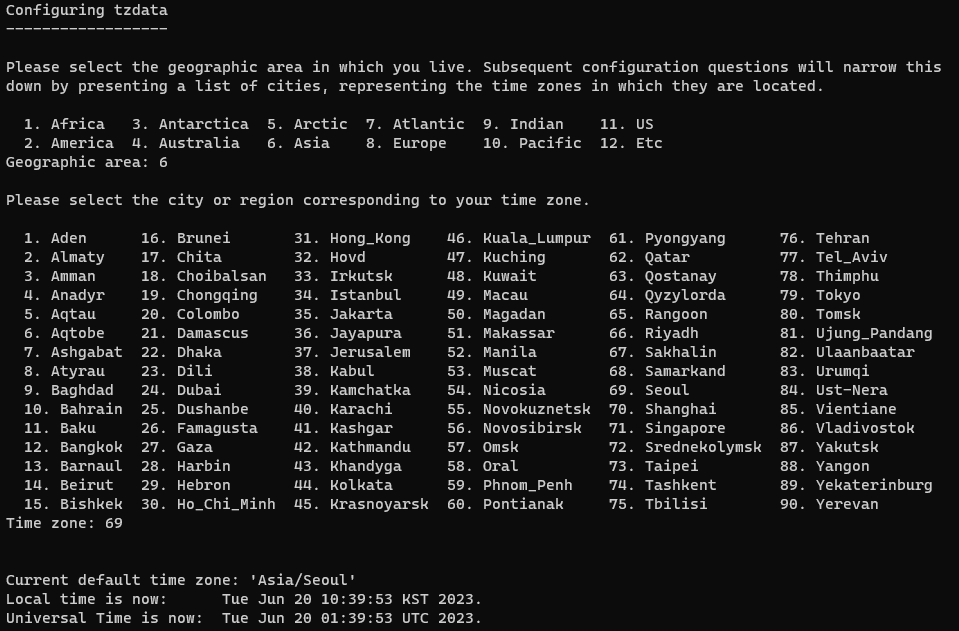
dpkg-reconfigure tzdata
2. Edit the configuration file: Open the main configuration file for chrony, usually located at /etc/chrony/chrony.conf, using a text editor. For example:
sudo vim /etc/chrony/chrony.confdefault chrony.conf file
cat /etc/chrony/chrony.conf# Welcome to the chrony configuration file. See chrony.conf(5) for more
# information about usable directives.
# Include configuration files found in /etc/chrony/conf.d.
confdir /etc/chrony/conf.d
# This will use (up to):
# - 4 sources from ntp.ubuntu.com which some are ipv6 enabled
# - 2 sources from 2.ubuntu.pool.ntp.org which is ipv6 enabled as well
# - 1 source from [01].ubuntu.pool.ntp.org each (ipv4 only atm)
# This means by default, up to 6 dual-stack and up to 2 additional IPv4-only
# sources will be used.
# At the same time it retains some protection against one of the entries being
# down (compare to just using one of the lines). See (LP: #1754358) for the
# discussion.
#
# About using servers from the NTP Pool Project in general see (LP: #104525).
# Approved by Ubuntu Technical Board on 2011-02-08.
# See http://www.pool.ntp.org/join.html for more information.
pool ntp.ubuntu.com iburst maxsources 4
pool 0.ubuntu.pool.ntp.org iburst maxsources 1
pool 1.ubuntu.pool.ntp.org iburst maxsources 1
pool 2.ubuntu.pool.ntp.org iburst maxsources 2
# Use time sources from DHCP.
sourcedir /run/chrony-dhcp
# Use NTP sources found in /etc/chrony/sources.d.
sourcedir /etc/chrony/sources.d
# This directive specify the location of the file containing ID/key pairs for
# NTP authentication.
keyfile /etc/chrony/chrony.keys
# This directive specify the file into which chronyd will store the rate
# information.
driftfile /var/lib/chrony/chrony.drift
# Save NTS keys and cookies.
ntsdumpdir /var/lib/chrony
# Uncomment the following line to turn logging on.
#log tracking measurements statistics
# Log files location.
logdir /var/log/chrony
# Stop bad estimates upsetting machine clock.
maxupdateskew 100.0
# This directive enables kernel synchronisation (every 11 minutes) of the
# real-time clock. Note that it can’t be used along with the 'rtcfile' directive.
rtcsync
# Step the system clock instead of slewing it if the adjustment is larger than
# one second, but only in the first three clock updates.
makestep 1 3
# Get TAI-UTC offset and leap seconds from the system tz database.
# This directive must be commented out when using time sources serving
# leap-smeared time.
leapsectz right/UTC
3. Configure time servers: In the configuration file, specify the time servers you want chrony to synchronize with. You can add multiple server entries using the server directive. For example:
confdir /etc/chrony/conf.d

server time.bora.net iburst
server times.postech.ac.kr iburst
server kr.pool.ntp.org iburst

pool ntp.ubuntu.com        iburst maxsources 4
pool 0.ubuntu.pool.ntp.org iburst maxsources 1
pool 1.ubuntu.pool.ntp.org iburst maxsources 1
pool 2.ubuntu.pool.ntp.org iburst maxsources 2

sourcedir /run/chrony-dhcp

sourcedir /etc/chrony/sources.d

keyfile /etc/chrony/chrony.keys

driftfile /var/lib/chrony/chrony.drift

ntsdumpdir /var/lib/chrony

logdir /var/log/chrony

maxupdateskew 100.0

rtcsync

makestep 1 3

leapsectz right/UTC- server: The NTP servers that chrony will use to synchronize its time.
- driftfile: The path to the file that chrony will use to store its drift information.
- loglevel: The logging level for chrony.
4. Adjust other settings: Optionally, you can modify additional settings according to your requirements. Some common settings include allow directives to restrict access, maxdistance to limit synchronization distance, and driftfile to specify the location of the drift file.
5. Save and close the configuration file.
6. Restart chrony: Restart the chrony service to apply the changes you made to the configuration file. The command varies depending on your Linux distribution. For example, on Ubuntu or Debian, use:
sudo systemctl restart chrony7. Verify synchronization: You can check the synchronization status and the selected time sources by running the following command:
chronyc sources -v
This will display information about the synchronized time sources.
Here are some additional chrony configuration options that you may want to consider:
- stratum: The stratum of the NTP servers that chrony will use.
- maxupdateskew: The maximum amount of time that chrony will allow its time to drift from the NTP servers.
- rtcsync: Whether or not chrony should synchronize its time with the system real-time clock.
By following these steps, you can install and configure chrony to keep your system's time synchronized with reliable time servers.
'Linux Distributions' 카테고리의 다른 글
| How to Enable HTTP/2 in Apache 2.4 on Ubuntu 22.04 (0) | 2023.06.28 |
|---|---|
| How to install the latest version of influxdb on Ubuntu (0) | 2023.06.21 |
| How to set or change timezone on Ubuntu (0) | 2023.06.19 |
| How to Install SSH Server on Ubuntu (0) | 2023.06.16 |
| How to install Apache from source code on CentOS 7 and enable HTTP/2 (0) | 2023.06.15 |


